You add a keyframe wherever the motion changes meaning, and a cut wherever the picture should change instantly instead of moving. Keyframes are the stills you author; the model generates every frame between them, which is called interpolation. A cut is the instruction to stop interpolating and start a new shot. The scene below is nine keyframes and two cuts, and it rendered as 474 frames on the first attempt.
This is the whole thing, about twenty seconds in three shots. A kid walks up a garden path and hides in a flower bed. A dragon at the koi pond catches a fish and burps a fireball. The kid bolts and the dragon chases him out of frame:
The ratio is the thing to hold on to. Nine images were authored by a person. 474 frames came out. Under two per cent of what you just watched was drawn by hand, and one hundred per cent of the decisions were.
It also rendered clean the first time, all three shots, with no retries. That is not luck and it is not a good prompt. It is what happens when the model is never asked to guess where anything ends up.
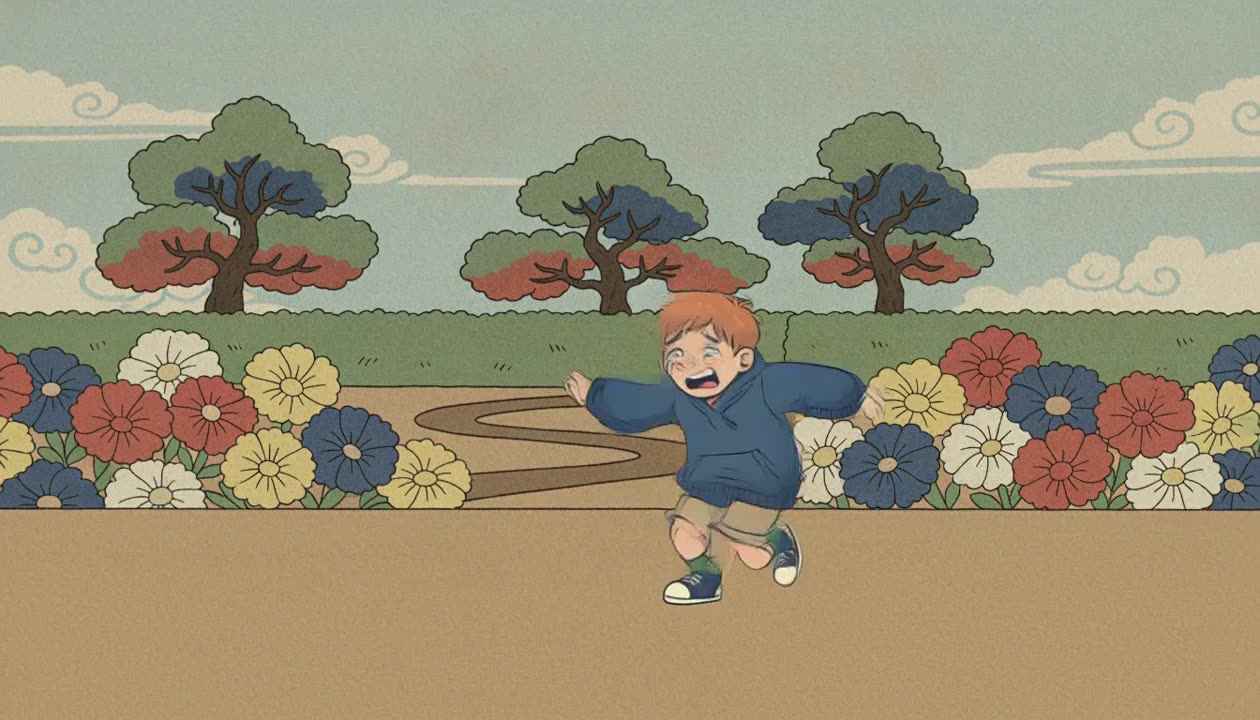
Keyframe interpolation is the generation of the frames between two authored stills. You give it a start and an end; it invents the path. Here are three frames from the third shot, at the beginning, the middle and the end:
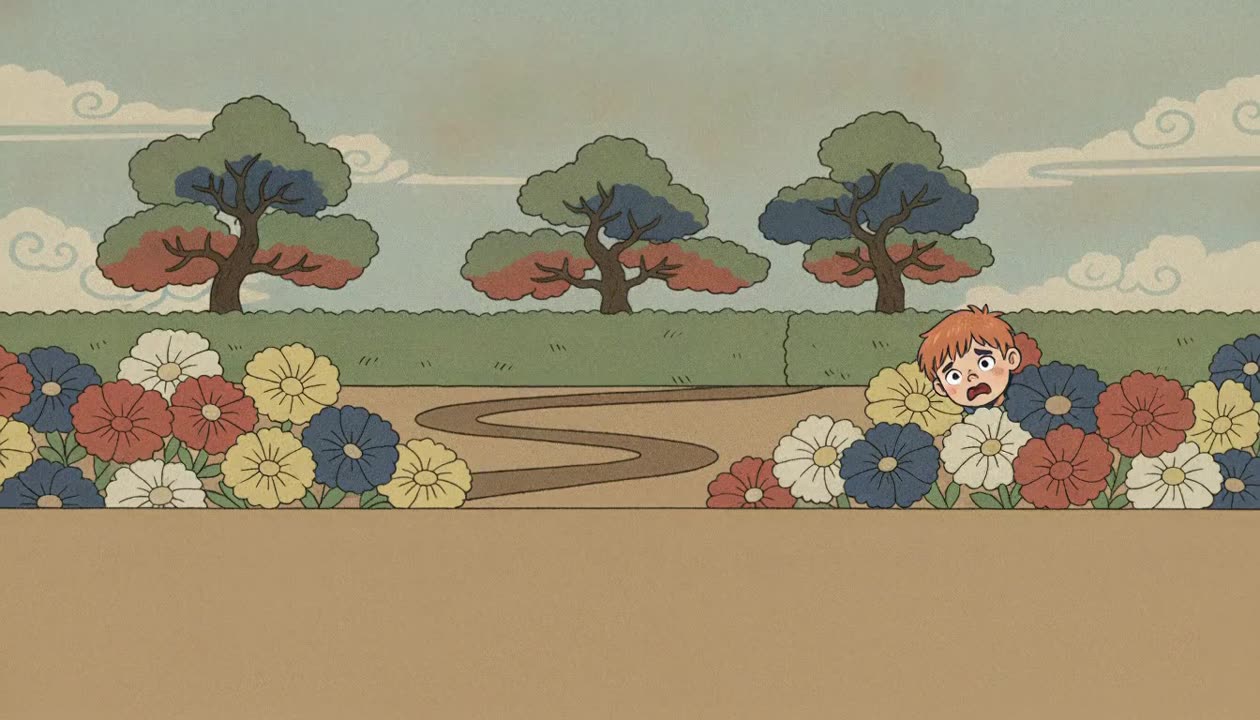
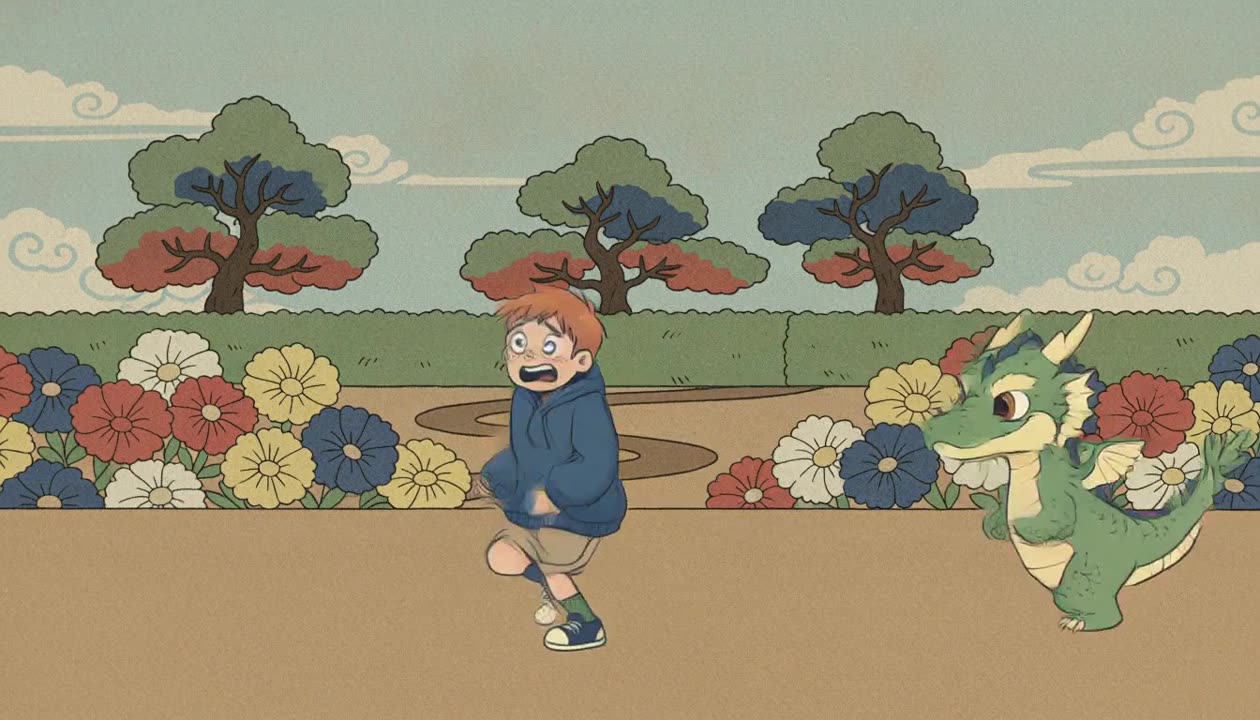
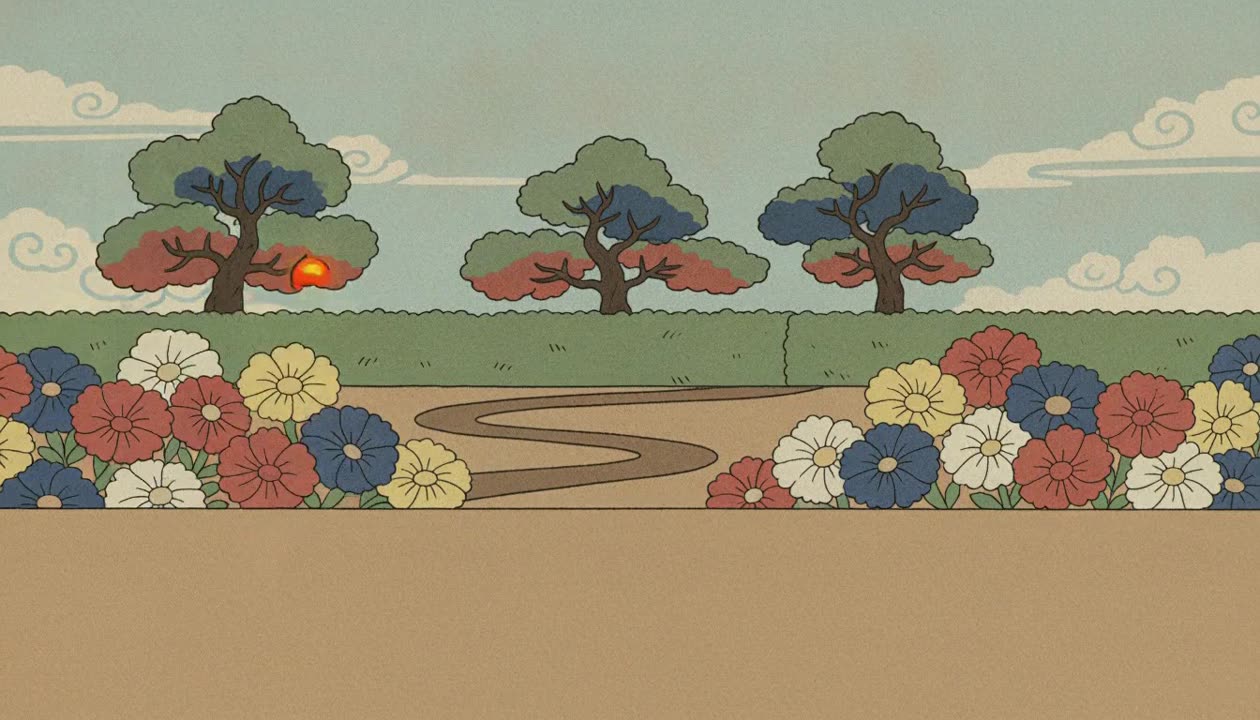
The middle is where the shot earns its keep. The kid mid stride with his mouth open and the dragon coming through the flowers is what the render produced between two decisions: he is hiding here, and later they are both gone. Nine stills were authored across the whole scene. Everything else you are watching was generated between them.
This is the century old division of labour from hand drawn animation, with the assistants replaced. The senior animator drew the keys; a room of inbetweeners drew the rest. If you want the longer version of that idea, we wrote it up in what is a keyframe in animation.
Wherever the motion changes meaning, and nowhere else.
In practice that means one at the start of the shot, one at the end, and one wherever the intent changes in between. A kid walking across a garden is two keys. A kid walking across a garden, spotting something, then hiding is three, because spotting it is a change of intent and the model cannot infer it from the endpoints.
Over keying is the beginner mistake that feels like diligence. Pin a still every half second and you have taken the inbetweener's job back, badly: the model loses the room it needs to move things naturally, and you now own a dozen images whose details all have to agree with each other. Three keys per shot carried the scene above.
The other control is the gap. The time between two keys is called a span, and its length is your speed dial. Same two stills, short span, fast move. Long span, slow one. Most AI motion runs at one indistinguishable speed because nobody touches this.
A hard cut is an instant change from one shot to the next, with no dissolve, no wipe and no transition of any kind. It is the default edit in film, and it is the single most useful thing you can do to an AI video, for a reason that is specific to how these models work.
Between two keyframes, the model has to connect them. That is what it is for. But if the two stills are a boy in a flower bed and a dragon at a pond, connecting them is not what you want. You want the picture to change, not to morph. The cut is how you say so. Here are the three shots the scene cuts between:
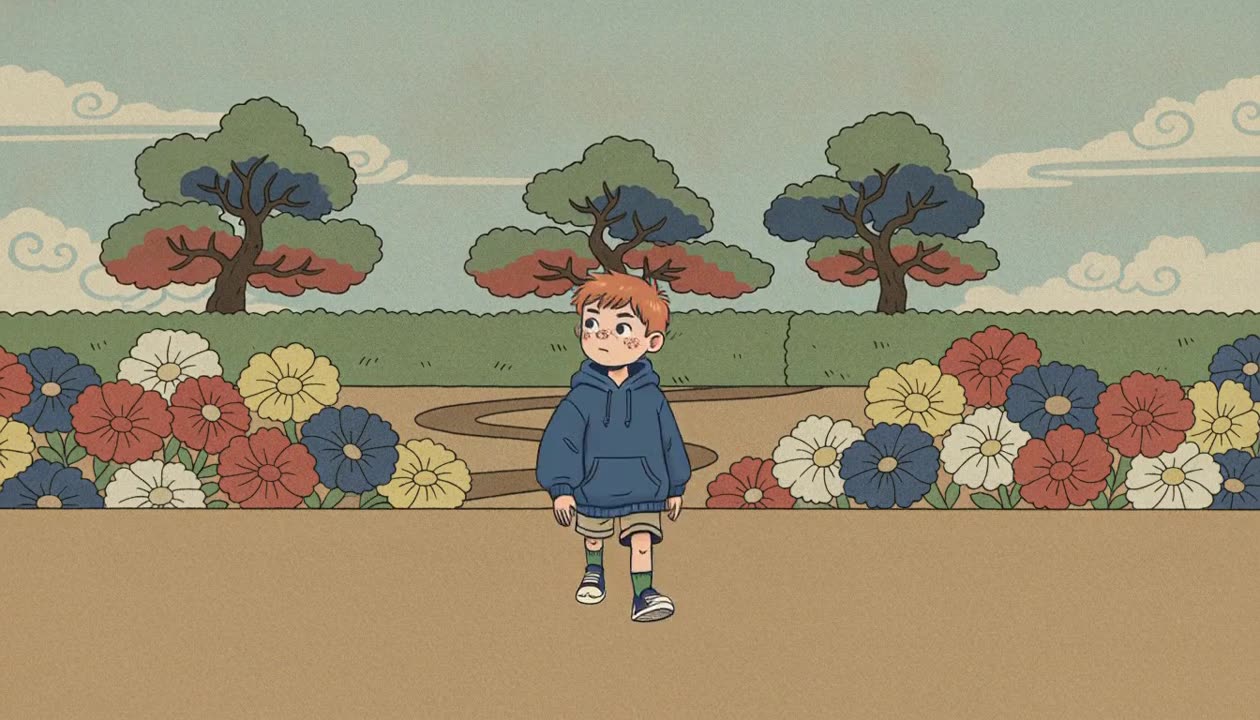
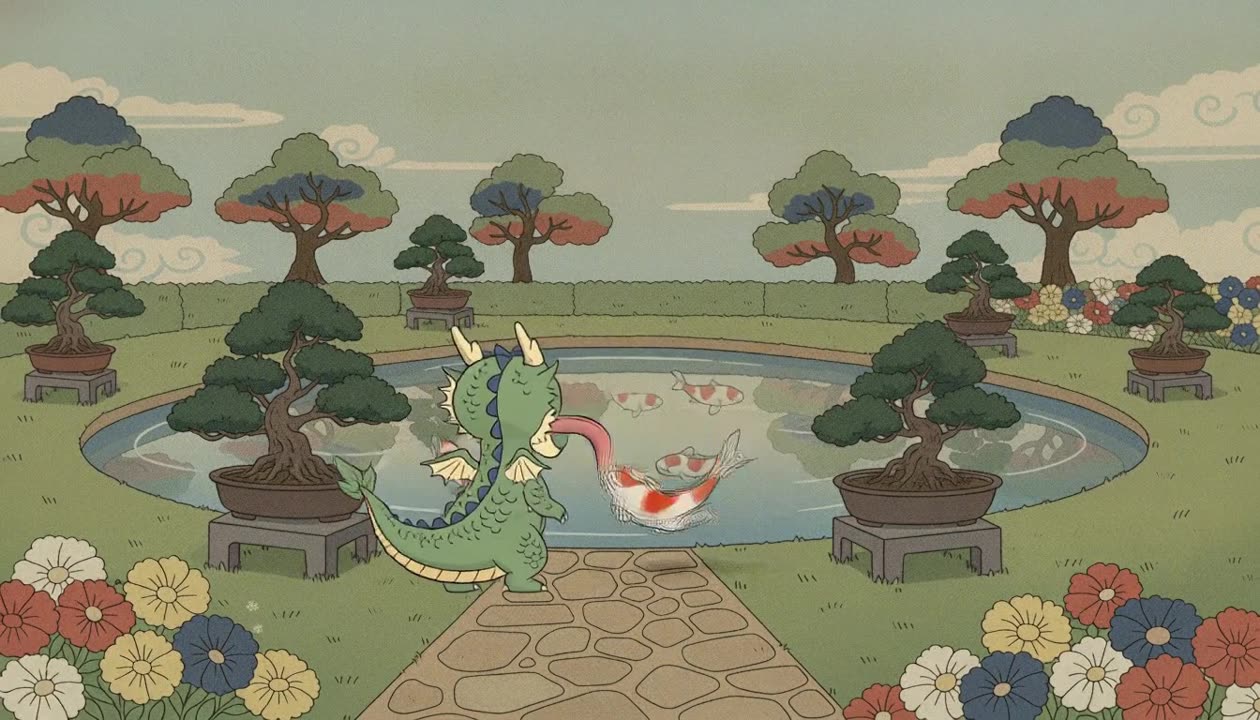
Cut when the location changes, when the subject changes, or when time jumps. Interpolate when the same thing is moving. Almost every unwanted morph in AI animation, where a face slides into another face or a background melts, is a missing cut: two stills that should have been separate shots were handed to the model as one span, and it did exactly what it was asked to do.
The stitching workaround people describe on forums, where you take the last frame of one five second clip and feed it in as the first frame of the next, is this idea done by hand in an editor. Cuts inside a single scene are the same thing without the manual joins, and without a fresh chance for the characters to drift at every seam.
Nima treats keyframes and cuts as the interface rather than as settings buried behind a prompt box. The scene above was built this way.
The free plan includes finished films with their keyframes and cuts intact, which is the fastest way to see how many keys a real shot needs. Open Nima free.
An instant change from one shot to the next with no transition. In AI animation it is also an instruction: it tells the model to stop generating frames between two stills and start a new shot instead, which is how you avoid one image morphing into an unrelated one.
You author still images at the moments that matter and the model generates every frame between them. The stills fix where things end up; the model only decides how they get there. That is why keyframed shots need far fewer retries than prompted ones.
The generation of the frames between two authored keyframes. In hand drawn animation a person did this and it was called inbetweening. In AI animation the model does it, and the length of the gap between the two keys sets how fast the movement reads.
Usually two or three. One at the start, one at the end, and one wherever the intent changes. The three shot scene on this page used nine keyframes in total. Adding more than you need makes motion worse, not better, because the model loses the room to move things naturally.
Cut when the location changes, the subject changes, or time jumps. Keyframe when the same thing is moving. If two stills would look wrong blended into each other, they belong in separate shots.
Yes, if the tool supports cuts inside a scene. Otherwise you generate clips separately and join them in an editor, which is the manual stitching workaround, and every join is a fresh chance for the character to drift.
Nima is built around the keyframe rail and the cut, so a multi shot scene is one project rather than a stack of clips to stitch. Try it free.